You need to connect n8n to Google Sheets. This guide gives you clear, practical answers. We will walk through the essential n8n Google Sheets node documentation you need to automate your spreadsheets. You will learn how to set up credentials, read data, write data, and solve common problems. Let’s start making your workflows work for you.
Table of Contents
Why Use the Google Sheets Node in n8n?
The Google Sheets node in n8n connects your workflows to your spreadsheets. It turns manual data entry into automated processes. You can pull leads from a form into a sheet. You can update inventory numbers from a database. You can send report data to a team spreadsheet. This node acts as a bridge. It lets Google Sheets become a living part of your automations. You save time and reduce errors.
Setting Up Your Google Sheets Credentials
Before you use the node, you must connect n8n to your Google account. This is a one-time setup. Here are the steps.
First, open your n8n workflow editor. Click to add a Google Sheets node. You will see a “Connect to Google Sheets” button. Click it. A new window will ask you to sign in to your Google account. Choose the account with your spreadsheets.
Next, you must grant n8n specific permissions. n8n needs access to view and manage your spreadsheets. Confirm the permissions. Your connection is now established. n8n will save these credentials. You can use them for any Google Sheets node in your workspace.
Remember to share your target spreadsheet with the Google account you authorized. The email is often a service account address. You can find this email in the connection details within n8n.
How to Read Data from Google Sheets
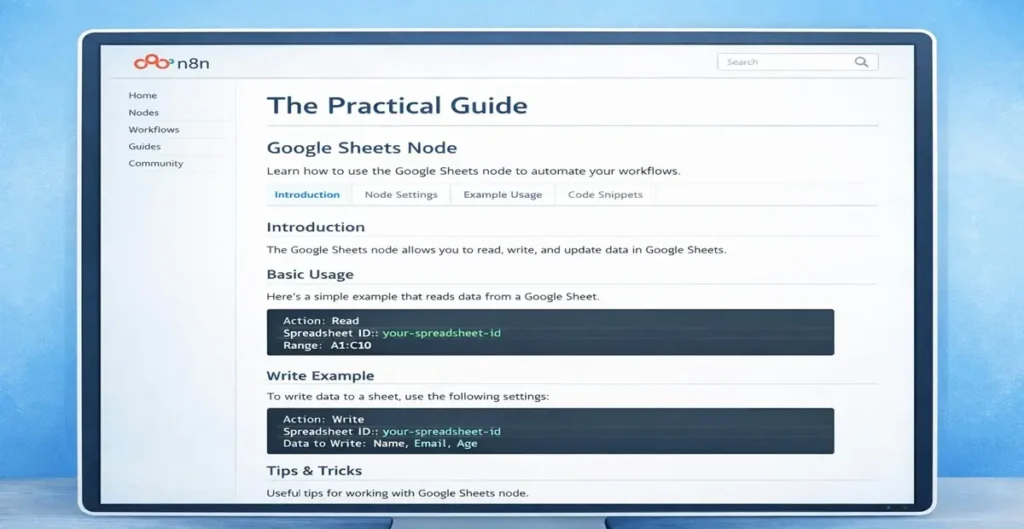
Reading data is a common task. The n8n Google Sheets node documentation calls this a “Read” operation. Here is how to do it.
Select your Google Sheets node. Set the “Operation” field to “Read”. You must then specify the spreadsheet and worksheet. The node will list your available spreadsheets. Choose one. Then, select the specific sheet tab inside it.
You can define a range like “A1:E100”. Leaving it empty often reads the entire used range. You can also choose to read data “As Is” or “Formatted”. “As Is” returns raw cell values. “Formatted” returns values as they appear in the sheet.
The output of this node is an array of items. Each row becomes a JSON object. The first row usually provides the property names. This data can then feed into subsequent nodes like HTTP requests or email nodes.
How to Write and Update Data in Google Sheets
Writing data automates updates. The “Append” operation adds new rows. The “Update” operation changes existing rows.
To append, set the operation to “Append”. Select your spreadsheet and worksheet. The node expects an input from a previous node. Map the incoming data to columns. For example, a webhook might send {“name”: “John”, “email”: “john@example.com”}. You map ‘name’ to column A and ‘email’ to column B. n8n adds this as a new row at the bottom of your sheet.
Updating requires a key. Set the operation to “Update”. You must specify a “Column to Match”. This is like a unique ID, such as “Email”. The node uses the value in this column to find the correct row. It then updates other columns in that row with your new data. If a matching row is not found, you can choose to append it.
Key Operations in Google Sheets Node Documentation
The node offers several operations. Each serves a different purpose. Understanding them is key.
- Read: Fetches data from a sheet. Use it to trigger workflows with spreadsheet data.
- Append: Inserts new rows at the end of your dataset. Perfect for logging or collecting data.
- Update: Modifies existing rows based on a key column. Ideal for syncing records.
- Create: Makes a brand new worksheet within a spreadsheet.
- Delete: Removes rows or entire worksheets. Use with caution.
Your choice depends on your workflow goal. Most automations use Read, Append, and Update.
Solving Common n8n Google Sheets Node Errors
You might encounter errors. These are typical solutions.
“Requested entity was not found” usually means a wrong spreadsheet or worksheet ID. Re-select them from the dropdown. Ensure the sheet is shared with your service account.
“Invalid range” means your range format is incorrect. Use standard A1 notation like “Sheet1!A1:D5”.
Append operations writing to the wrong place often mean your sheet has empty rows. Clear all unused rows and columns. The append function writes to the first completely empty row it finds.
Data formatting issues can occur. Numbers may become strings. Use the “Convert To” options in the node settings to set data types. For example, force a column to be a number.
Best Practices for Reliable Workflows
Follow these tips for smooth automation.
Always test with a duplicate sheet first. Protect your live data. Use clear column headers in row one of your sheet. The node uses these for property mapping.
For large data sets, enable pagination in the Read operation. This prevents timeouts. Structure your workflows to handle empty results. Use an “IF” node to check if data was returned.
Keep your Google credentials secure. Use separate service accounts for different security levels. Monitor your workflow history for failed executions. Set up alerts for critical data flows.
Frequently Asked Questions
How do I find my Google Sheet ID?
The Sheet ID is in the URL of your spreadsheet. Find the long string between “/d/” and “/edit”. For example, in https://docs.google.com/spreadsheets/d/abc123/edit, the ID is abc123.
Can the n8n Google Sheets node handle multiple worksheets?
Yes. Each operation lets you select a specific worksheet within a spreadsheet. You can also use multiple nodes to interact with different sheets in one workflow.
Why is my appended data going to the wrong row?
Your sheet likely has hidden formatting or content in seemingly empty rows. Delete all rows and columns beyond your actual data. The append node targets the first truly empty row.
Is real-time sync possible with n8n and Google Sheets?
n8n is not real-time. It runs on triggers. You can use the Schedule trigger to poll a sheet frequently. Or use a Webhook trigger to update Sheets instantly when another app sends data.
Streamline Your Data with n8n and Google Sheets
You now have the essential n8n Google Sheets node documentation in a practical guide. Start by setting up credentials. Then, read data to trigger workflows. Use append to collect information. Apply update to keep records in sync. Avoid errors by following best practices. The power is in connecting simple steps. Your Google Sheets will transform from static files into dynamic tools. Begin with one small automation. See the time you save. Then build from there.