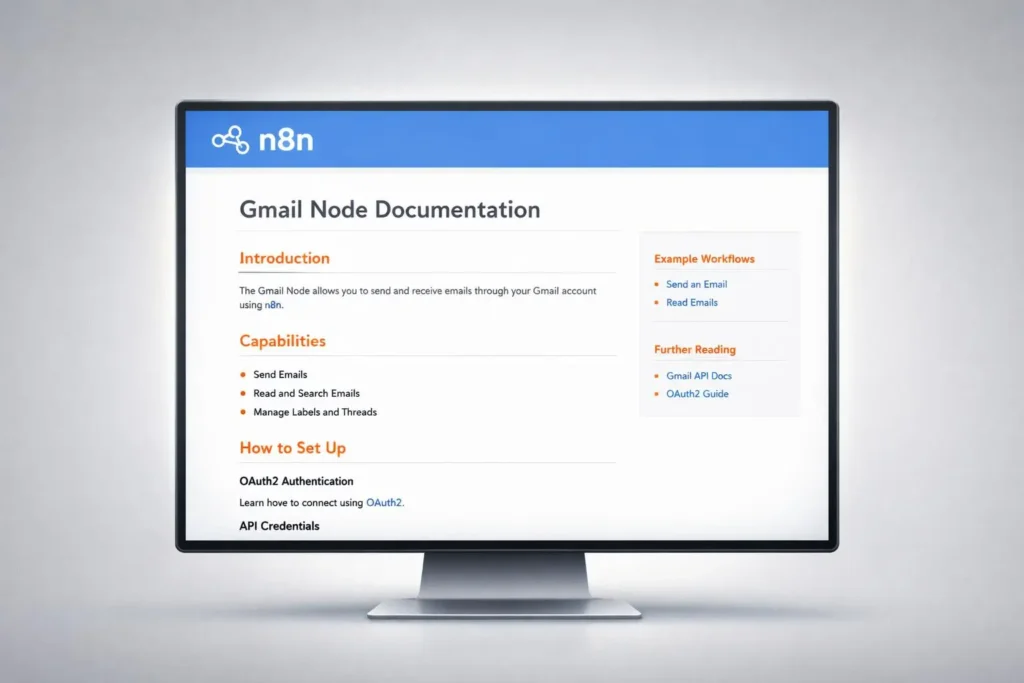
Connecting Gmail to your workflows is a powerful way to automate communication. The n8n Gmail node makes this possible. This guide is your clear, practical n8n Gmail node documentation. You will learn how to set up the node, use its key features, and build effective automations. We will provide actionable steps and examples you can use immediately.
Table of Contents
Why You Need the Gmail Node for n8n Automation
Email is central to most business processes. Manually sending, reading, and organizing messages takes valuable time. The Gmail node in n8n automates these tasks. You can trigger workflows from new emails. You can automatically send follow-ups. You can also parse attachments and update other apps. This automation saves hours each week and reduces human error.
Setting Up Your Gmail Node Credentials
Before you use the node, you must connect n8n to your Gmail account. This requires setting up OAuth credentials in Google Cloud. Follow these steps.
First, go to the Google Cloud Console. Create a new project or select an existing one. Navigate to “APIs & Services” and then “Credentials.” Click “Create Credentials” and choose “OAuth client ID.” Select “Web application” as the application type.
You need to configure the authorized redirect URI. Enter your n8n instance’s URL followed by /rest/oauth2-credential/callback. For example, https://your-n8n-domain.com/rest/oauth2-credential/callback. Create the credentials. You will get a Client ID and Client Secret.
In your n8n workflow editor, add a Gmail node. Click “Create New” under Credentials. Choose “OAuth2 API.” Paste your Client ID and Client Secret. Click “Connect” and authorize the connection with your Google account. Your Gmail node is now ready for use.
Core n8n Gmail Node Operations and Triggers
The Gmail node offers several operations. Each serves a different purpose in your automation. The main operations are “Send,” “Delete,” “Reply,” and “Get.” There is also a trigger node.
The “Send” operation lets you send emails. You can define recipients, subject, and body. You can also add attachments from previous nodes. The “Reply” operation posts a reply to a specific email thread. The “Delete” operation removes emails based on your criteria.
The “Get” operation retrieves emails. You can fetch a single email by ID or many emails matching a query. The Gmail Trigger node is essential. It starts a workflow when a new email arrives. You can filter emails by label, sender, or subject.
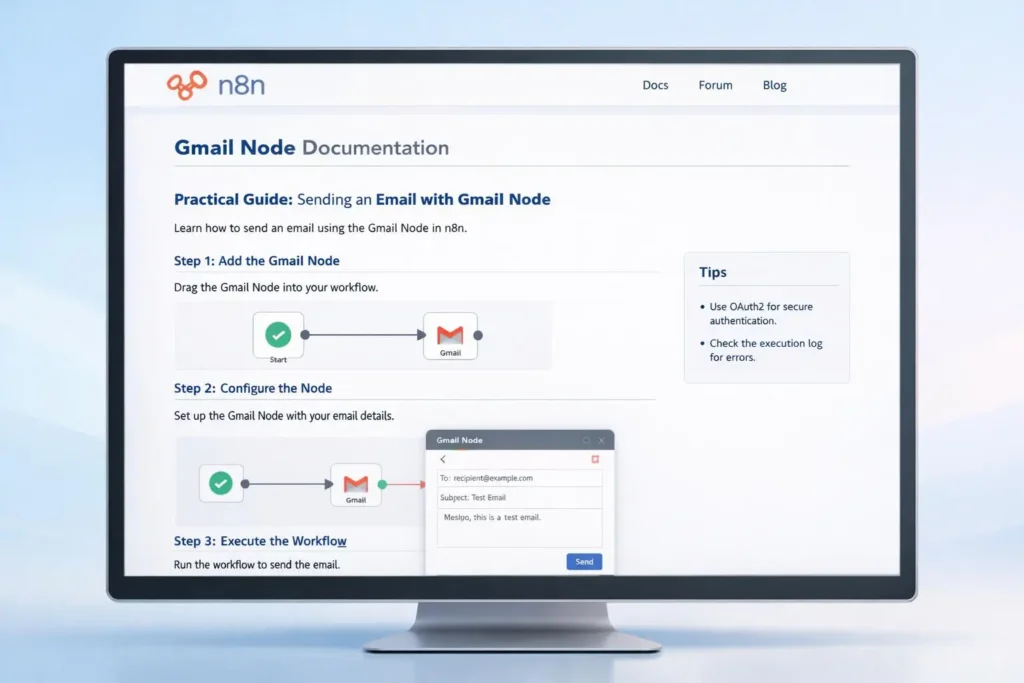
How to Send an Email with the n8n Gmail Node
Sending an email is a common task. Let’s build a practical example. Imagine you want to send a welcome email when a new user signs up on your site.
Add a Webhook node to catch the sign-up data. Then, add a Gmail node. Set the operation to “Send.” In the “To” field, map the email address from the Webhook node. Fill in the subject line. For the body, you can use HTML or plain text. You can personalize it using data from the sign-up, like the user’s name.
You can also attach files. Use an earlier node to fetch a file from your cloud storage. Then, map that binary data to the attachment field in the Gmail node. Execute the workflow. The email will be sent automatically.
Automating Replies and Managing Inbox with n8n
You can automate replies to common inquiries. Use the “Reply” operation. First, you need the threadId and messageId of the email you are replying to. The Gmail Trigger node provides this data when a new email arrives.
Create a workflow triggered by new emails. Add a filter node to check the email content. For example, filter for emails containing the word “invoice.” If the condition is true, route to a Gmail node set to “Reply.” Compose a standard reply confirming receipt of the invoice request. The node will post it to the correct thread. This provides instant acknowledgment.
For inbox management, use the “Delete” or “Get” operations. You can create a workflow that archives old promotional emails weekly. Use the “Get” operation with a query label:promotions older_than:7d. Then, pass these emails to a “Delete” operation node.
Using the Gmail Trigger Node for Event-Driven Workflows
The Gmail Trigger node starts workflows automatically. It is perfect for event-driven automation. Add the node to your canvas and select “Trigger.” Configure the polling time. This defines how often n8n checks for new emails.
Apply filters to avoid triggering on every email. You can filter by sender address, subject, or label. For example, set the label to “INBOX” and the subject to contain “Support Ticket.” Now, the workflow only runs for matching emails.
When triggered, the node outputs the full email data. This includes the body, subject, sender, and all IDs. You can use this data in subsequent nodes. You can add the sender to a CRM, parse the email content, or create a task in a project management tool.
Common Issues and Troubleshooting Tips
You might encounter some issues. Most problems relate to authentication or scope permissions. If your node fails, check your OAuth credentials first. Ensure your authorized redirect URI is exactly correct in Google Cloud.
Scope errors are common. The node might request the wrong access level. In your n8n credentials, ensure you selected the correct scopes. For full email access, you need https://mail.google.com/. Without proper scopes, operations like “Send” will fail.
For sending issues, check the “To” field format. It must be a valid email address. Also, large attachments can cause timeouts. Check n8n’s execution logs for detailed error messages. They often point directly to the problem.
n8n Gmail Node Documentation FAQ
How do I get the Gmail node in n8n?
The Gmail node is built into n8n. You find it under the “Communication” category in the node panel. You just need to set up the Google OAuth credentials to use it.
Can I send emails with attachments?
Yes. Provide binary data from a previous node to the attachment field. The node supports common file types like PDF, images, and documents.
Can the trigger node watch a specific folder or label?
Yes. In the Gmail Trigger node configuration, use the “Label” field. Enter the name of the label you want to monitor. Only emails with that label will trigger the workflow.
Is it safe to give n8n access to my Gmail?
The connection uses standard OAuth 2.0. n8n only accesses the scopes you approve. Your credentials are stored securely. You can revoke access anytime in your Google account security settings.
Streamline Your Communication with n8n
The n8n Gmail node unlocks powerful email automation. You can send messages automatically, manage your inbox, and create smart replies. The key is proper setup and understanding the operations. Start with a simple trigger or send workflow. Then, build more complex processes as you get comfortable. Use this n8n Gmail node documentation as your reference. You now have the knowledge to connect your communication and save time on repetitive tasks. Start automating your Gmail today.